
As an upgrade for my Gentleman Jack cosplay, I decided to add spats, partly to be more screen accurate (though I’m not overly concerned with this) and partly to cover up a modern pair of boots. This is part runthrough-part guide, as I figure this could function as an easy tutorial for any style of spats you want to make.

Structurally finished, minus buttons
Materials:
- Plastic wrap and tape for patterning
- Fashion fabric layer, I used a textured medium weight cotton
- Sturdy inter lining, I used coutil because I had plenty available
- Lining, I used black cotton sateen left over from the GJ coat
- Buttons, preferably with shank
- Silk twist if you’re doing hand bound buttonholes
- Small buckles, mine were re-purposed from old sandals
First I found the shoes I wanted – a sturdy pair from Goodwill with easily removable “extra bits” i.e. any extra rings and straps that would make weird bulges.
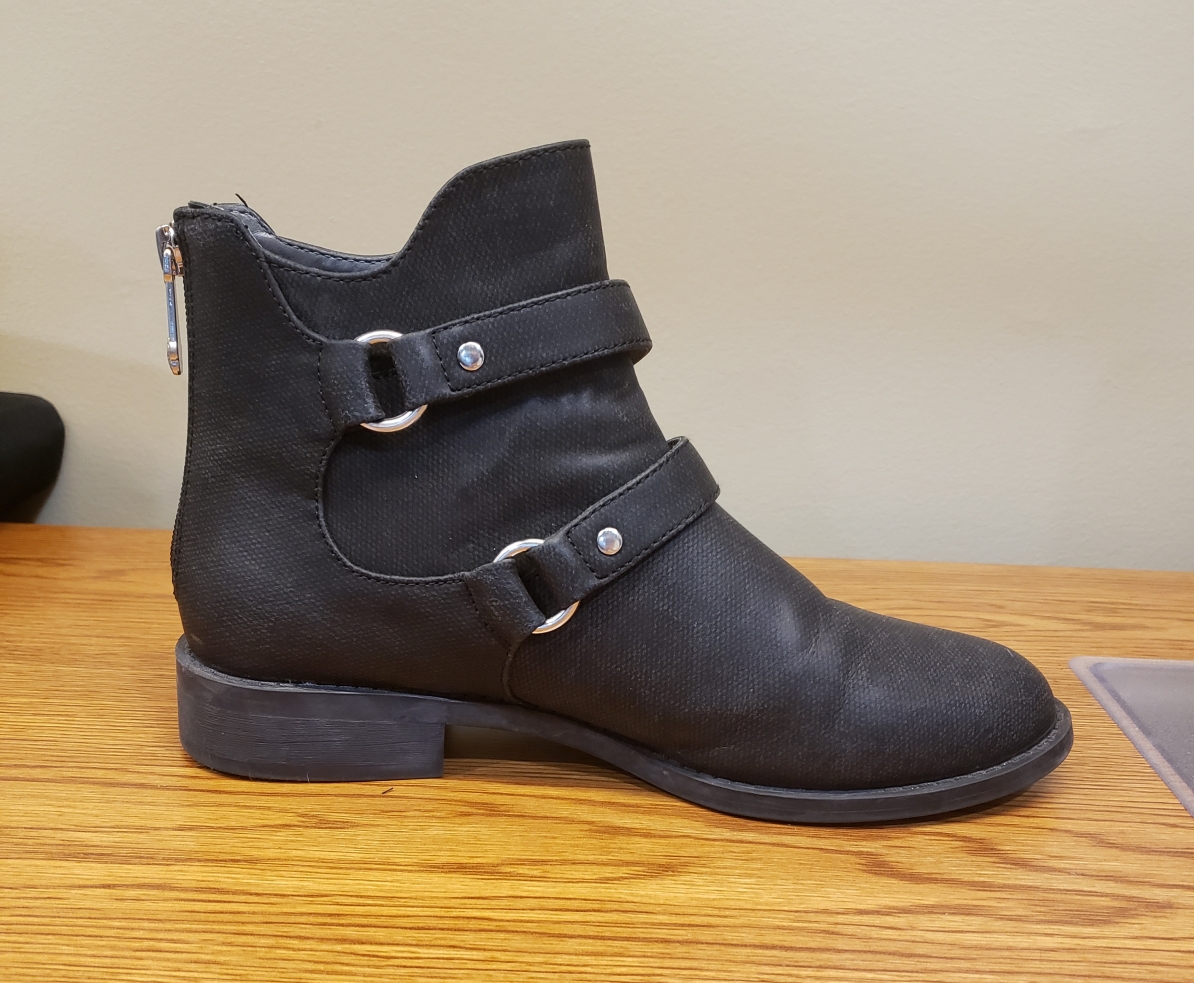
Fresh from goodwill
To start, I cut off the metal rings and removed the straps going around the front. Now with a plain base to work with, I put one of the shoes on and wrapped first plastic wrap then masking tape around my shoe up my leg.

Pattern base
On top of the tape, I drew the outline I wanted in sharpie, then cut both the tape and plastic wrap off the shoe along the seamline down the front of my foot. I imagine you could technically place the seams anywhere, but keeping them at the front and back means you can have two symmetrical pieces for easier fitting and cutting.

First mockup tightening the curve at the side and pulling in the front and back seams
I anticipated the tape would be a slightly smaller pattern than I really wanted, as fabric will never (and shouldn’t!) fit that close. I added in an extra inch throughout the width of my first mockup, which turned out to be almost perfect. After tracing out my pattern onto muslin, I found there was just enough room to make a few tweaks to the fit, including tightening it up at the back curve of the heel.

Final mockup with line drawn where the opening will eventually go
If you’re replicating this structure, I also recommend making two identical pattern pieces for both sides instead of patterning them individually. This just keeps everything symmetrical from the start and is generally easier to work with.
Now with my pattern adjusted, I transferred everything onto paper, adding seam allowance and making two separate pieces for the side that opened. I added an extra inch to the opening edges (half inch for seam allowance, half inch for overlap, totaling to an inch of overlap) and kept everything else at a half inch allowance.

Finished pattern
With my pattern finished, I cut everything out and ironed the pieces, especially careful to have the lining and fashion fabric layers as mirror images so each spat would have the opening on the outside of my foot. I did a hasty seam to flatline the coutil and fashion fabric, then fully seamed the outside and inside layers together.
I made two narrow half-inch straps out of my fashion fabric for the straps running under the boot then ironed them flat. It doesn’t matter how wide they are, just so long as they fit in the size buckles you have, ie, my buckles were a half inch wide so I made equal sized straps.
Next, I sewed the lining and fashion fabric together along the sides and bottom edge, lining up seam lines and inserting the straps in the process. I clipped the corners, trimmed the seam allowances, then turned and ironed these edges. The coutil put up a bit of a fight, and I probably could’ve used a lighter interlining, but I wanted to make sure the extra bits left on the shoes didn’t show through.
To finish them, I folded over the top edge and did a quick whip stitch by hand to close them.
(Sorry, I only have instagram story photos for the next few photos)

Attaching buttons and marking buttonholes
The last few steps were just to do the buttonholes and buttons and buckles, which I did in the airport and the night before I wore them.
The buttons are self explanatory, but for the buckles, I made sure to leave the straps slightly longer than I needed so I could trim them to the appropriate length when I was doing them.

It’s easiest to do attach the buckles while it’s sitting on the actual shoe
I hemmed the straps by hand, wrapping one side around the buckle and making the closure with the other strap. To secure the end that goes through the buckle, I made a thread loop with buttonhole twist.

The Perfect Loop
And that’s it! The whole process took one evening after work, then about 3 hours of hand sewing. This is also a great way to use up scrap fabric or remnants in odd shapes and sizes. Spats are also a great project if you’re new to self drafting, since there’s really only one pattern piece you build off of and it’s easier to fit a shoe than a body.

Full look, sans greatcoat and hat
In reality, you can’t even see the spats much under my skirt, but it’s worth it just knowing they’re there!
Thanks for reading and if you’re in for more regular updates, you can find me on instagram 🙂
